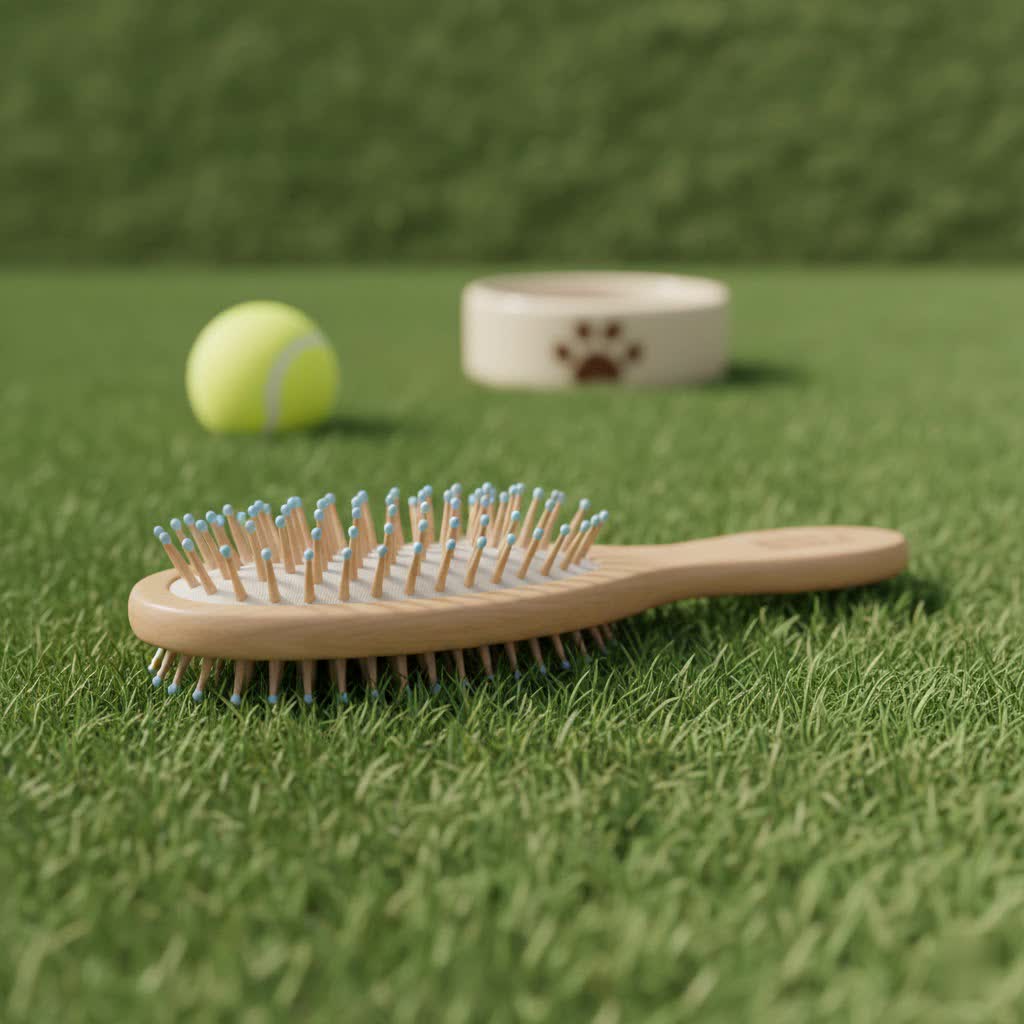
Have you ever wondered why your freshly washed hair still feels a little… dull? Or perhaps you’ve noticed your trusty hairbrush accumulating a suspicious-looking “dust bunny” at its base. If so, it’s time to talk about hair brush cleaning. This often-overlooked step in our hair care routine is crucial for maintaining not just the longevity of our brushes, but more importantly, the health and vibrancy of our hair and scalp. A clean hair brush can be the secret weapon in achieving the lustrous locks you desire, effectively detangling, smoothing, and distributing natural oils without reintroducing unwanted grime.
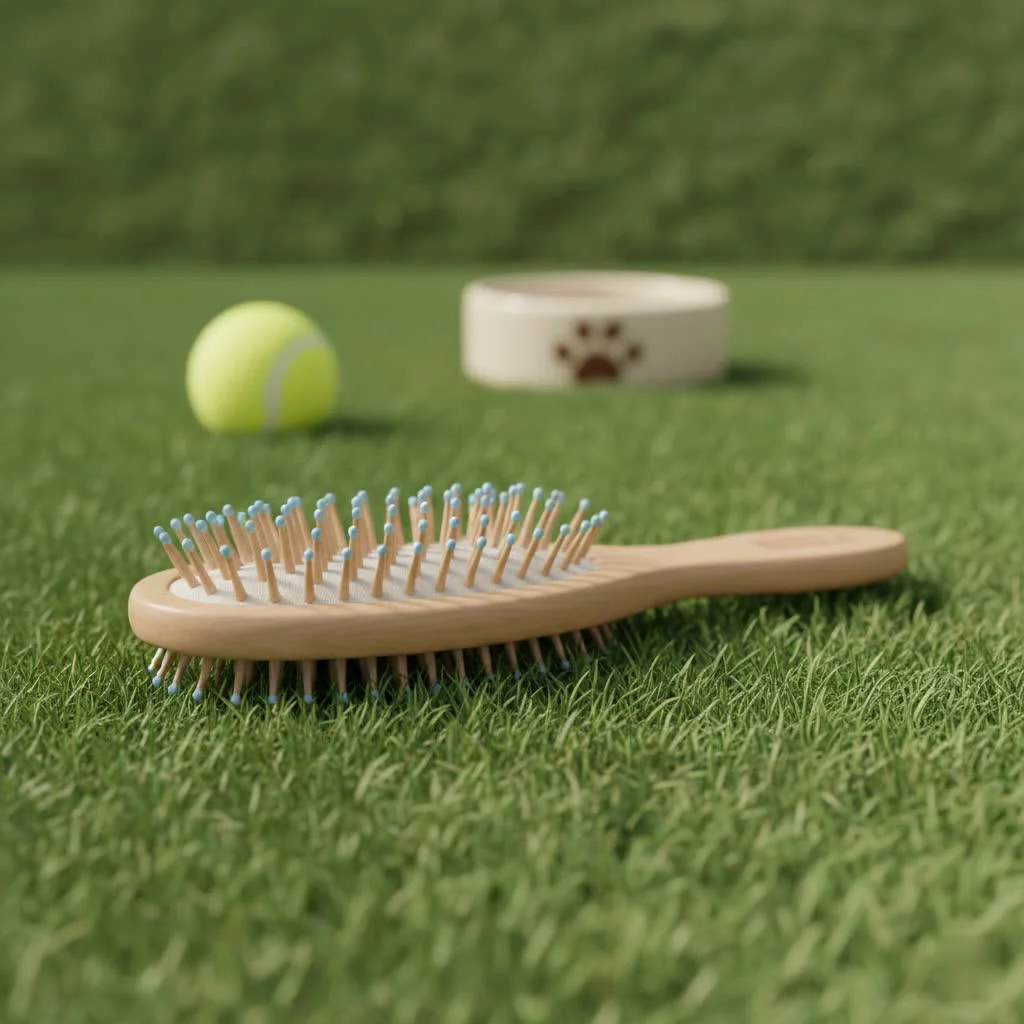
What is Hair Brush Cleaning and Why is it Essential?
Hair brush cleaning is the process of removing accumulated hair, dead skin cells, scalp oil (sebum), product residue, dust, and lint from your hairbrush. Over time, your hairbrush acts like a magnet, trapping all sorts of particles from your hair and the environment. This isn’t just an aesthetic issue; it has tangible impacts on your hair and scalp health.
When you use an unclean hairbrush, all that accumulated dirt, oil, and gunk can transfer back to your freshly washed hair. This can make your hair appear greasier faster, weigh it down, and hinder styling efforts. Furthermore, the buildup can clog hair follicles, potentially leading to scalp irritation, breakouts, and even hair damage. Regularly cleaning your hair brush ensures that this essential styling tool can perform at its best, promoting healthier hair and a cleaner scalp.
Signs Your Hair Brush Needs a Clean
It’s easy to forget about cleaning your hair brush, but your brush often gives visual cues that it’s time for a refresh. Keep an eye out for these tell-tale signs:
- Visible Lint and Hair: The most obvious sign is a dense collection of shed hair, dust, and grey lint tangled within the bristles.
- Product Buildup: If the bristles feel sticky, waxy, or coated with residue from styling creams, gels, or hairspray, it’s definitely time for a wash.
- Dullness or Greasiness: If your hair feels less clean or looks dull shortly after brushing, a dirty brush might be transferring impurities back onto your strands.
- Unpleasant Odor: A faint, stale smell coming from your brush can indicate bacterial growth from trapped oils and skin cells.
How Often Should You Clean Your Hair Brush?
The frequency of hair brush cleaning isn’t a one-size-fits-all rule; it largely depends on your hair type, how often you use styling products, and how frequently you use the brush. However, a general guideline can help you maintain optimal hygiene:
- Daily or Every Couple of Days: Make it a habit to remove loose hair from your brush after each use or every few days. This simple step prevents large buildups and makes deep cleaning much easier.
- Weekly: If you frequently use styling products like hairspray, gel, or dry shampoo, or if you have an oily scalp or conditions like dandruff, aim for a weekly deep clean.
- Bi-weekly to Monthly: For those who use fewer hair products or have normal to dry hair, a thorough cleaning every two to four weeks, or at least once a month, is generally sufficient.
Regular removal of hair and consistent deep cleaning will ensure your brush remains a beneficial tool for your hair.
Essential Tools for Effective Hair Brush Cleaning
Before you begin your hair brush cleaning ritual, gather a few common household items. You likely already have most of these on hand:
- A Fine-Toothed Comb (preferably a rat-tail comb) or Pointed Object: Essential for removing tangled hair from the bristles. Scissors can also be useful for cutting through tightly wound hair.
- Warm Water: The base for your cleaning solution.
- Gentle Cleanser: Options include:
- Mild shampoo (baby shampoo, clarifying shampoo, or your regular shampoo)
- Liquid Castile soap
- Dish soap
- Baking Soda (Optional): Can be added to the cleaning solution for extra power, acting as a gentle abrasive to tackle stubborn buildup.
- White Vinegar (Optional): Excellent for disinfecting plastic brushes, but should be used carefully with wooden or natural bristle brushes.
- An Old Toothbrush or Dedicated Brush Cleaner: Perfect for scrubbing between bristles and reaching the base.
- A Clean Towel: For drying your brush.
Step-by-Step Guide to Cleaning Your Hair Brush
Cleaning your hair brush is a straightforward process that can be broken down into a few simple steps:
1. Remove Loose Hair and Debris
|
Our Picks for the Best Hair Brush in 2026
As an Amazon Associate I earn from qualifying purchases.
|
||
| Num | Product | Action |
|---|---|---|
| 1 | Medium Round Brushing Brush - Ceramic Hair Brush for a Smooth Salon Style Look - Professional Brushing Brush Ideal for All Hair Types - 43 mm |

|
| 2 | Hair Brush Boar Bristle Hairbrush for Thick Curly Thin Long Short Wet or Dry Hair Adds Shine and Makes Hair Smooth, Best Paddle Hair Brush for Men Women Kids |
|
| 3 | GAINWELL Bamboo Hair Brush for Hair Growth, Natural Bamboo Bristles Detangling Wooden Paddle Hairbrush for Massaging Scalp, for Women Men and Kids, for All Hair Types, with Ergonomic Handle |
|
| 4 | Tangle Teezer Ultimate Detangler Brush for Wet & Dry Hair, Eliminates Knots & Reduces Breakage for All Hair Types, Millennial Pink |
|
| 5 | Wet Brush Original Detangler Hair Brush, Black Frost - Ultra-Soft IntelliFlex Bristles - Detangling Brush Glides Through Tangles For All Hair Types (Wet Dry & Damaged Hair) - Women & Men |
|
| 6 | Conair Detangling Hair Brush Set 3 Pack, For Wet, Dry and All Hair Types, Detangling Brushes for Women in Blue, Pink, and Gray |
|
| 7 | Wet Brush Detangling Brush, Original Detangler Brush (Sky) - Wet & Dry Tangle-Free Hair Brush for Women & Men - No Tangle Soft & Flexible Bristles for Straight, Curly, & Thick Hair |
|
| 8 | 10 Pack Natural Bamboo Hair Brushes, Wooden Paddle Scalp Massage Brush with Round-Tipped Bristles for Stimulating Hair Growth, Anti-Static Detangling for Women, Men |
|
| 9 | Kitsch Detangler Brush – Flexible Curly Hair Brush for Women, Men & Kids - Detangling Hairbrush with Bendable Frame and Ultra-Smooth Bristles for Wet or Dry Strands - Soft Violet |
|
| 10 | Wet Brush Original Detangler Hair Brush, Amazon Exclusive Purple - Ultra-Soft IntelliFlex Bristles - Detangling Hairbrush Glides Through Tangles For Wet, Dry & Damaged Hair - Women, & Men |
|
This is the crucial first step. Use your fingers, a fine-toothed comb, or the pointed end of a rat-tail comb to lift and pull out as much loose hair as possible from between the bristles. For round brushes or brushes with very tangled hair, you might find it helpful to use a small pair of scissors to carefully cut through the hair wound around the bristles, then pull it away. Perform this step over a bin or sink to contain any fallen debris.
2. Prepare Your Cleaning Solution
Fill a sink or a bowl with warm water. Add a few drops of your chosen gentle cleanser – shampoo, Castile soap, or dish soap – and swish it around to create a foamy solution. For an extra boost against stubborn product buildup and oil, you can add one to two teaspoons of baking soda to the mixture.
3. Soak or Dip Your Brush
This step is critical and depends on the type of hair brush you have:
- For Plastic or Metal/Plastic Brushes: You can submerge the entire brush in the soapy water. Let it soak for about 3 to 15 minutes to allow the solution to break down oils, dead skin cells, and product residue.
- For Brushes with Fabric/Soft Padding, Wooden Handles, or Natural Bristles: Avoid fully submerging these brushes, as prolonged exposure to water can damage the padding, erode the wood, or compromise the natural bristles. Instead, dip only the bristles into the soapy water, making sure to keep the base and handle as dry as possible. Dip and shake the brush several times to loosen debris.
4. Scrub for a Deep Clean
After soaking or dipping, use an old toothbrush or a dedicated brush cleaning tool to scrub the bristles and the base of the brush. Pay close attention to the areas where lint and product buildup tend to accumulate. Work the toothbrush gently between the rows of bristles, dislodging any remaining gunk.
5. Rinse Thoroughly
Once you’ve scrubbed your brush clean, rinse it under a stream of cool, clean water. Ensure all traces of soap and residue are washed away. For brushes that couldn’t be fully submerged, you can sprinkle a little clean water on the bristles and wipe them dry with a cloth.
6. Dry Properly
Proper drying is essential to prevent mold and mildew. Gently pat the hairbrush with a clean towel to remove excess water. For paddle brushes with cushioned bases, give the base a gentle squeeze to expel any trapped water. Then, lay the brush on a clean, dry towel with the bristles facing down to allow air to circulate and moisture to drain away. It can take anywhere from 12 to 24 hours for a brush to completely dry, so be patient and ensure it’s fully dry before its next use.
Special Considerations for Different Hair Brush Types
While the general steps are similar, certain brush types require specific care:
- Wooden Hair Brushes: Never fully submerge a wooden brush. Water can warp the wood, crack the finish, and loosen the bristles. Stick to dipping only the bristles and ensuring thorough air drying.
- Natural Bristle Brushes: Brushes with boar or bamboo bristles often require gentler detergents. While they can be soaked for a few minutes if the handle is not wood, it’s generally safer to dip the bristles only to maintain their integrity.
- Paddle and Cushioned Brushes: The cushioned base of these brushes can trap water. After rinsing, gently squeeze the cushion to remove excess water and ensure they air dry bristles-down to prevent moisture from pooling.
Disinfecting Your Hair Brush (Optional but Recommended)
For an extra layer of hygiene, especially for plastic brushes, disinfecting can be beneficial. After cleaning, you can soak plastic brushes in a solution of one part white vinegar to two parts warm water for 10-15 minutes. Vinegar is a natural disinfectant that helps eliminate bacteria. For wooden or cushioned brushes, simply wipe them down with a cloth dampened with this vinegar solution, rather than soaking. Always rinse thoroughly after disinfecting.
When to Replace Your Hair Brush
Even with diligent cleaning, hair brushes don’t last forever. Knowing when to replace your brush is just as important as cleaning it. Look out for these indicators:
- Damaged or Missing Bristles: If bristles are bent, broken, or missing, the brush won’t detangle or style effectively and can even cause hair breakage.
- Cracked or Flaking Body: Damage to the brush’s body indicates it’s past its prime and might harbor bacteria or snag hair.
- Persistent Dirtiness: If your brush still looks dirty, waxy, or discolored even after a thorough cleaning, it’s a sign that buildup has become permanent, and it’s time for a new one.
- Mold or Mildew: Any signs of mold or a persistent musty smell are definite reasons to discard a brush.
Generally, experts recommend replacing hair brushes every six to twelve months, depending on usage and quality.
Conclusion
Keeping your hair brush clean is a simple yet impactful habit that significantly contributes to healthy, vibrant hair and a happy scalp. By regularly removing tangled hair, washing away oils and product buildup, and allowing your brushes to dry properly, you ensure that these essential tools are always working to their full potential. Don’t let a dirty brush sabotage your hair care efforts. Embrace the routine of hair brush cleaning and experience the difference it makes for your locks. What’s one cleaning tip you’re excited to try?
Frequently Asked Questions
How often should I remove hair from my brush?
You should aim to remove loose hair from your hair brush after each use or every couple of days. This prevents significant accumulation and makes the deep cleaning process much easier when it’s time for a full wash.
Can I put my hair brush in the dishwasher?
While some plastic combs might be dishwasher safe, most hair brushes, especially those with wooden handles, natural bristles, or cushioned bases, should not be put in the dishwasher. The high heat and harsh detergents can cause irreversible damage, such as warping wood, melting plastic, or degrading bristles and cushions.
What is the grey “dust” in my hair brush?
The grey “dust” or lint you see in your hair brush is actually a mixture of shed hair, dead skin cells, scalp oil (sebum), environmental dust, and residue from hair styling products. This buildup can make your brush less effective and transfer impurities back to your hair.
Is baking soda or vinegar better for cleaning hair brushes?
Both baking soda and vinegar can be effective. Baking soda acts as a gentle abrasive to lift stubborn grime and absorb oils, while vinegar is excellent for disinfecting, especially for plastic brushes. You can use shampoo or mild soap for general cleaning, and add baking soda for deep cleaning. Vinegar can be used for a disinfecting soak on plastic brushes or as a wipe for wooden brushes.
Get our weekly buyer guide
Practical specs, not advice. Unsubscribe anytime.
